
No products in the cart.
Tips & Tricks
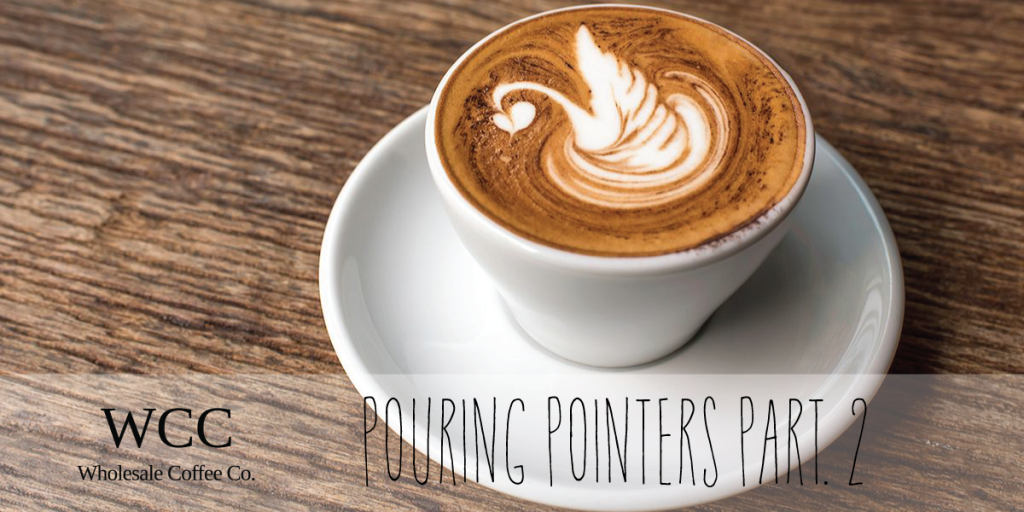
Pouring Pointers Pt. 2
09
Mar
Mar
Hello everyone, following on from our last tip this week we will be discussing how to pour rosetta’s. Using the information from last week about setting your canvas sets you up to begin to pour this classic pattern.
Step 1 – Set The Canvas
For more information on how to do this read our article here (link)
Step 2 – Start from The Back
Once your canvas is set you’ll want to bring the jug as close to the cup as possible and start from the back of the cup. This gives you control from being close and gives you space to make your pattern
Step 3 – Small Movements Make Big differences
When shaking the milk jug to form the leaves of your rosetta it’s easy to be a bit too rough. Don’t watch what the milk jug is doing watch how the milk itself is behaving, tensing your hand is often enough movement to create a pattern
Step 4 – Lift Up To Cut
Once you’ve wiggled out your pattern you’ll need to cut back through it to turn it into a rosetta, before you do this it’s best to lift the milk jug up and away from the cup. When you do this it makes the stream of milk act like a knife and it will neatly split your pattern into the classic “leaf” shape. If you don’t lift your jug up a big patch of foam will come out